Getting a new flat roof installed can be daunting, but understanding the installation process and knowing what our team does to ensure your flat roof installation goes smoothly will help put your mind at ease and allow you to best prepare for your new roof.
The expert team at Western Flat Roofing has decades of experience supporting customers with the installation of flat roofs. We are well-versed in providing outstanding customer care and providing information at every step of the way so that our clients understand the full process and what is involved.
In this blog, we’ve included a step-by-step guide on how roofing contractors will plan for your flat roof replacement, and the best ways you can prepare, as preparation helps everything run to plan.
The Flat Roof Installation Process
Step 1: Initial Assessment
The first step in your flat roof installation journey is your initial consultation with a member of our team. This first meeting is used to set the groundwork for a personalised, cost-effective solution for your replacement flat roof.
In this meeting, we will ask you questions about what your budget is and the material you think you’d like so that we can create a design. At this stage, address any concerns you might have, whether that’s energy efficiency or drainage, so our team can ensure that this isn’t an issue for you in the future.
Our team will run you through the pros and cons of the material you can choose, like Rubber roofing, GRP, Green roofs, and PVC.
Step 2: Site Assessment
Next is an in-person evaluation and inspection of the flat roof deck. Before quoting for or starting any work, it’s important to know what we’re up against.
A team member will come round and check the current flat roof structure, dimensions, and make a note of any challenges. This way, we can ensure a seamless installation.
Step 3: Design
This is where it gets exciting: the design stage. Our team will take everything you spoke about and, with careful planning, create a design proposal. This will include the materials you want, insulation, drainage, and any extra features (like skylights) that you want to add.
At this stage, you will also receive the cost breakdown and timeline for your flat roofing project.
Step 4: Client Approval & Scheduling
At this stage, it’s over to you. To get the ball rolling, we need approval from you, the homeowner. You can make any changes you need to the design, and we will work with you to ensure it’s exactly what you want.
Once you’re happy, we will schedule the installation for a convenient time.
Step 5: Site & Surface Preparation
Once a date is in the diary, we will order all of the best materials that we will use to complete your installation. Before installation begins, there is some preparation that needs to take place.
Firstly, any debris will be cleared, this is to create a safe and accessible environment to work on. If scaffolding is needed, this will be installed at this stage.
Step 6: Removing the Old Roofing Material
If there is an existing roof, we will carefully remove this and dispose of waste materials responsibly. Once the roof is removed, we can check the underlying structure for any underlying issues. If there are any, we can efficiently repair them and create a secure base for your new flat roof.
Step 7: Installing Insulation
The next step is the key to an energy-efficient flat roof: insulation. This will help keep your energy in and hopefully lower energy bills in the future.
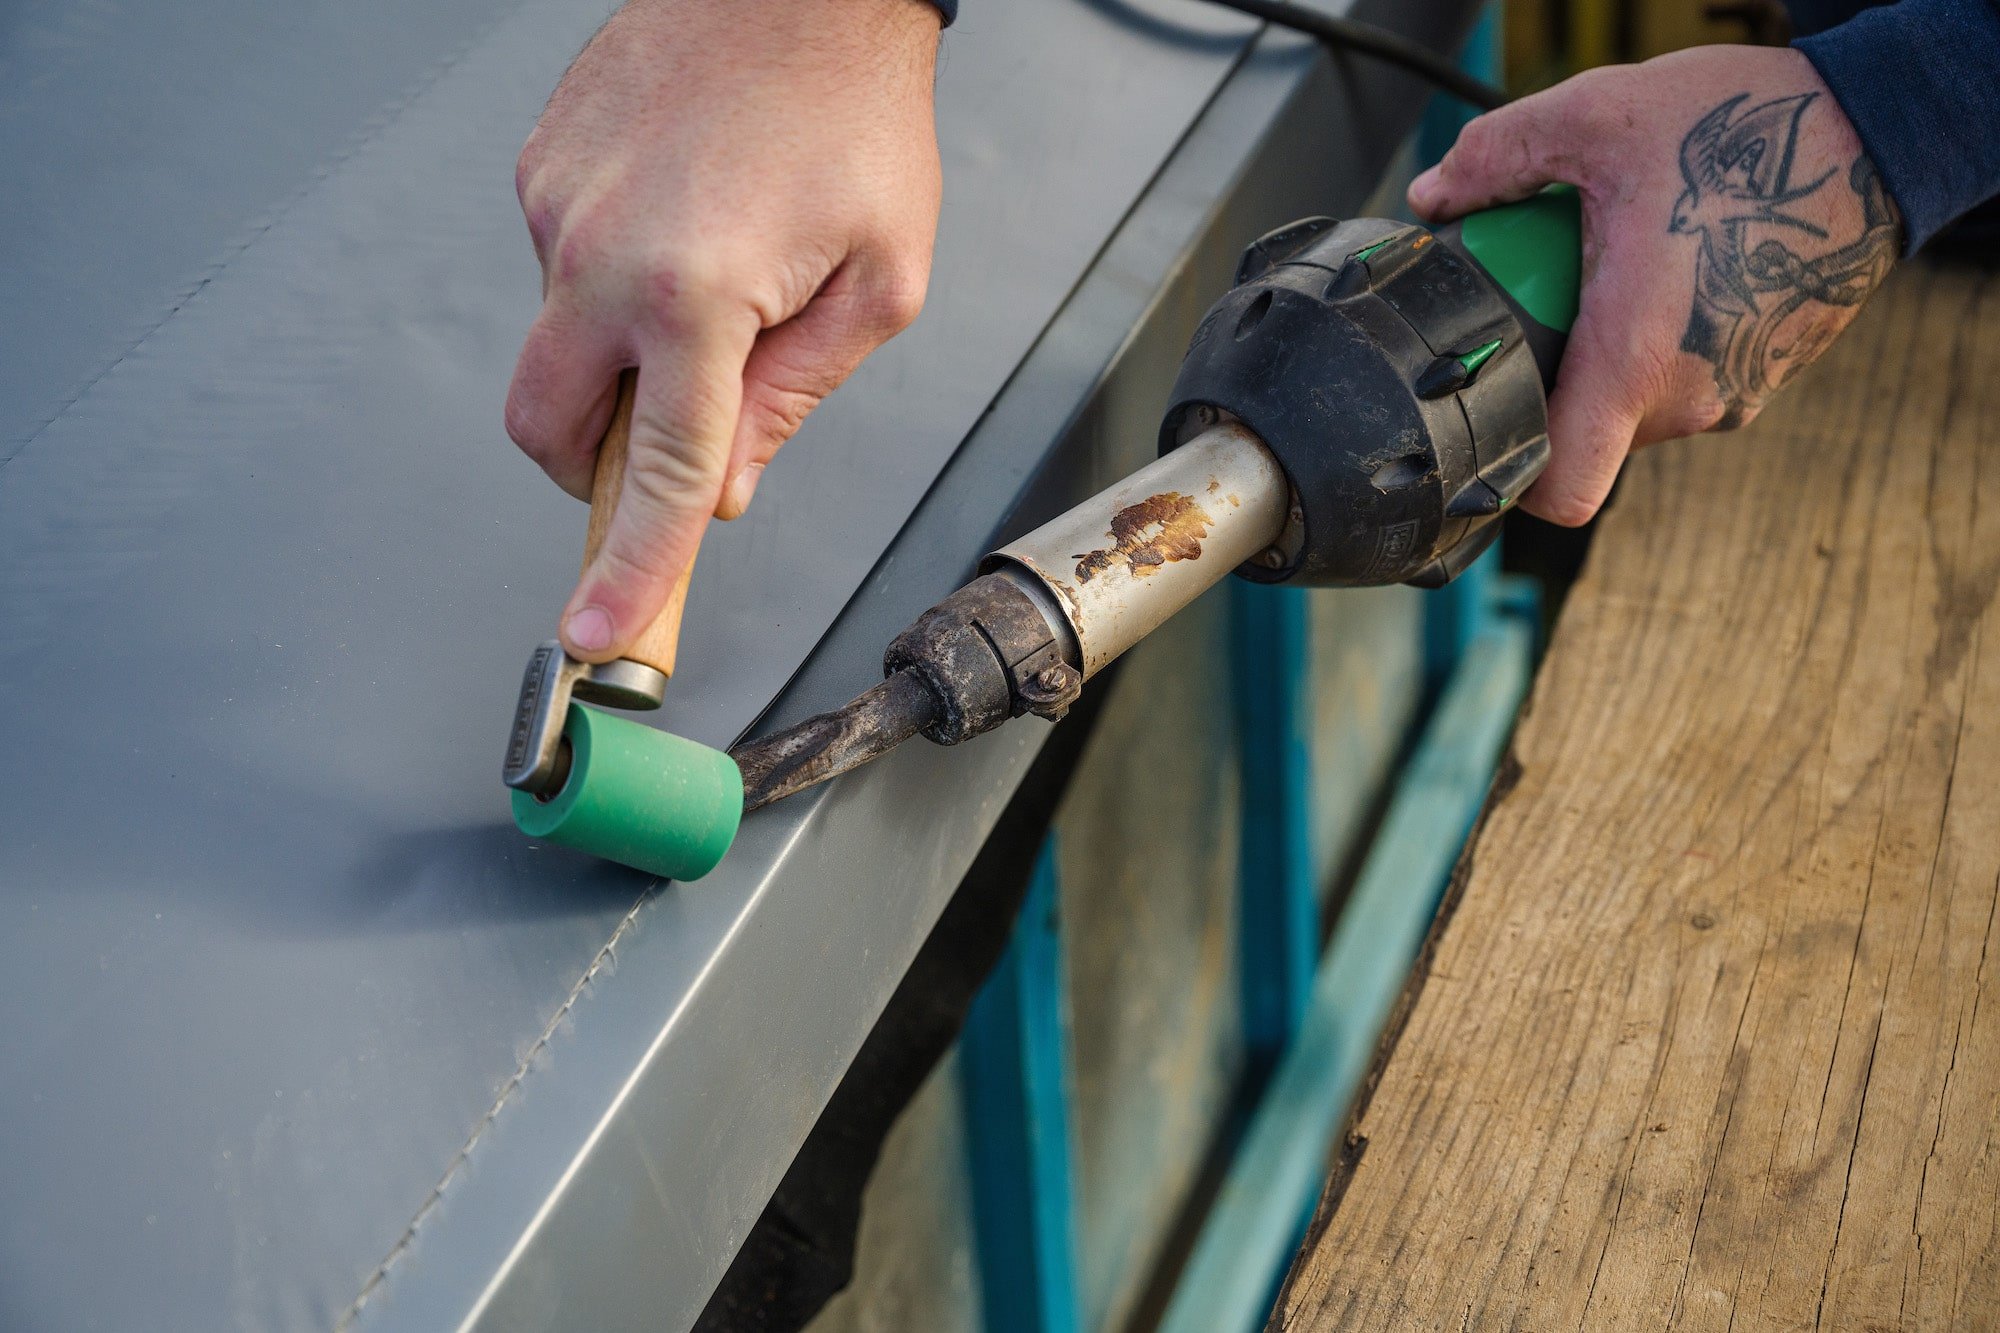
Step 8: Applying the Membrane
Then we start applying your chosen membrane. Our team will seamlessly apply this to prevent leaks and increase the durability of your flat roof.
Step 9: Finishing Touches: Flashings & Edges
After installation of the chosen quality materials, flashings and edges need to be installed. Our team uses their expert craftsmanship to seal the roof edges and vents or skylights. This will help to prevent any water infiltration and ensure long-term performance for your flat roof.
Step 10: Inspection & Clean Up
The final inspection is carried out by the site supervisor to ensure all specs are met and the flat roof is up to our high standards. This is just a precaution to check for flaws, gaps, or pooling that could lead to costly repairs.
The site will be left clean, with any waste removed and any equipment safely taken off-site. We will then provide the homeowner with care information and advice.
How Long Does a Flat Roof Installation Take?
The time it takes to install a flat roof depends on a few factors: the size, the chosen materials, site access, and weather conditions. On average, most standard installations take between 1 to 4 days.
For example, a straightforward rubber roof on a small extension might be completed in a single day, while larger or more complex projects, such as a GRP fibreglass or green roof system, could take up to 4 days or more.
Poor British weather, such as heavy rain or strong winds, may delay work, especially since a dry, stable surface is essential for proper installation.
How to Prepare for a Flat Roof Installation
Proper preparation can make your flat roof installation smoother, safer, and quicker for everyone involved. Before work begins, it’s a good idea to make arrangements that give the roofing contractors clear access and protect your property from disruption.
Here’s how homeowners can prepare:
- Move cars, bins, and garden furniture to allow space for scaffolding, skip hire, and material delivery.
- Cover or temporarily move valuables in rooms directly beneath the roof, especially if ceilings may be affected.
- Let nearby residents know if there will be noise, scaffolding, or shared access usage.
- Double-check the agreed start date, duration, and contact details for the on-site supervisor.
- Be flexible, especially in case of delays caused by bad weather (common with flat roofs).
- Limit children’s and pets’ access to outdoor areas during the installation for safety.
Get in touch with our expert team to find out more about how we can help you.